¶ Object Model System (OMS)
Coordinator: Daniel García-Vaglio daniel.garciavaglio@ucr.ac.cr
Main developer: Daniel García-Vaglio degv364@gmail.com
This is a project under development. You should expect this wiki to change at any moment.
OMS is a system that can handle models and controllers for various objects, each having multiple affordances. The purpose of this wiki is not for explaining OMS or for its documentation, this wiki should only be used for explaining HOW to use this system. If you want to learn more about the OMS, please visit the section with a list of related publications to this project.
¶ Related Publications
- Garcia-Vaglio, D., & Ruiz-Ugalde, F. (2018, July). An Object Manipulation System Architecture for Humanoid Robots Based on Primate Cognition. In 2018 IEEE International Work Conference on Bioinspired Intelligence (IWOBI) (pp. 1-8). IEEE.
¶ Installation
First you will need to install the humanoid robot Simulator. So follow Humanoid simulator for installing it.
When you have installed the Humanoid Robot Simulator, you will need to create a Python virtual environment. Please note that OMS uses Python3, do not create a Python2 virtualenv, as it will not work.
  mkdir ~/python
  cd python
  virtualenv --python=python3.7 arcos
  cd arcos
  mkdir src
  git clone ssh://gitolite3@arcoslab.eie.ucr.ac.cr/oms
Now that you have created the virtual environment we need to activate it. Remember to do this before working with OMS always
  cd ~/python/arcos
  source bin/activate.sh
When the virtual environment is activated and you want to exit, just type
deactivate
You need to regenerate the python bindings from inside the virtual environment for them to be available for OMS.
Now follow the README file located at <virtualenv>/arcos/src/oms/README.MD for the rest of the installation instructions.
¶ Contributing
If you are part of ARCOS-Lab, and want to contibute to the project. Please contact Daniel.
If you are an external contributor you can follow our contribution standard. Ariel and Javier are actively working on that, meanwhile you can contact Daniel directly)
¶ Bug reports
If you found a bug, please file it to our issue tracker. (Ariel and Javier are actively working on that, meanwhile you can contact Daniel directly)
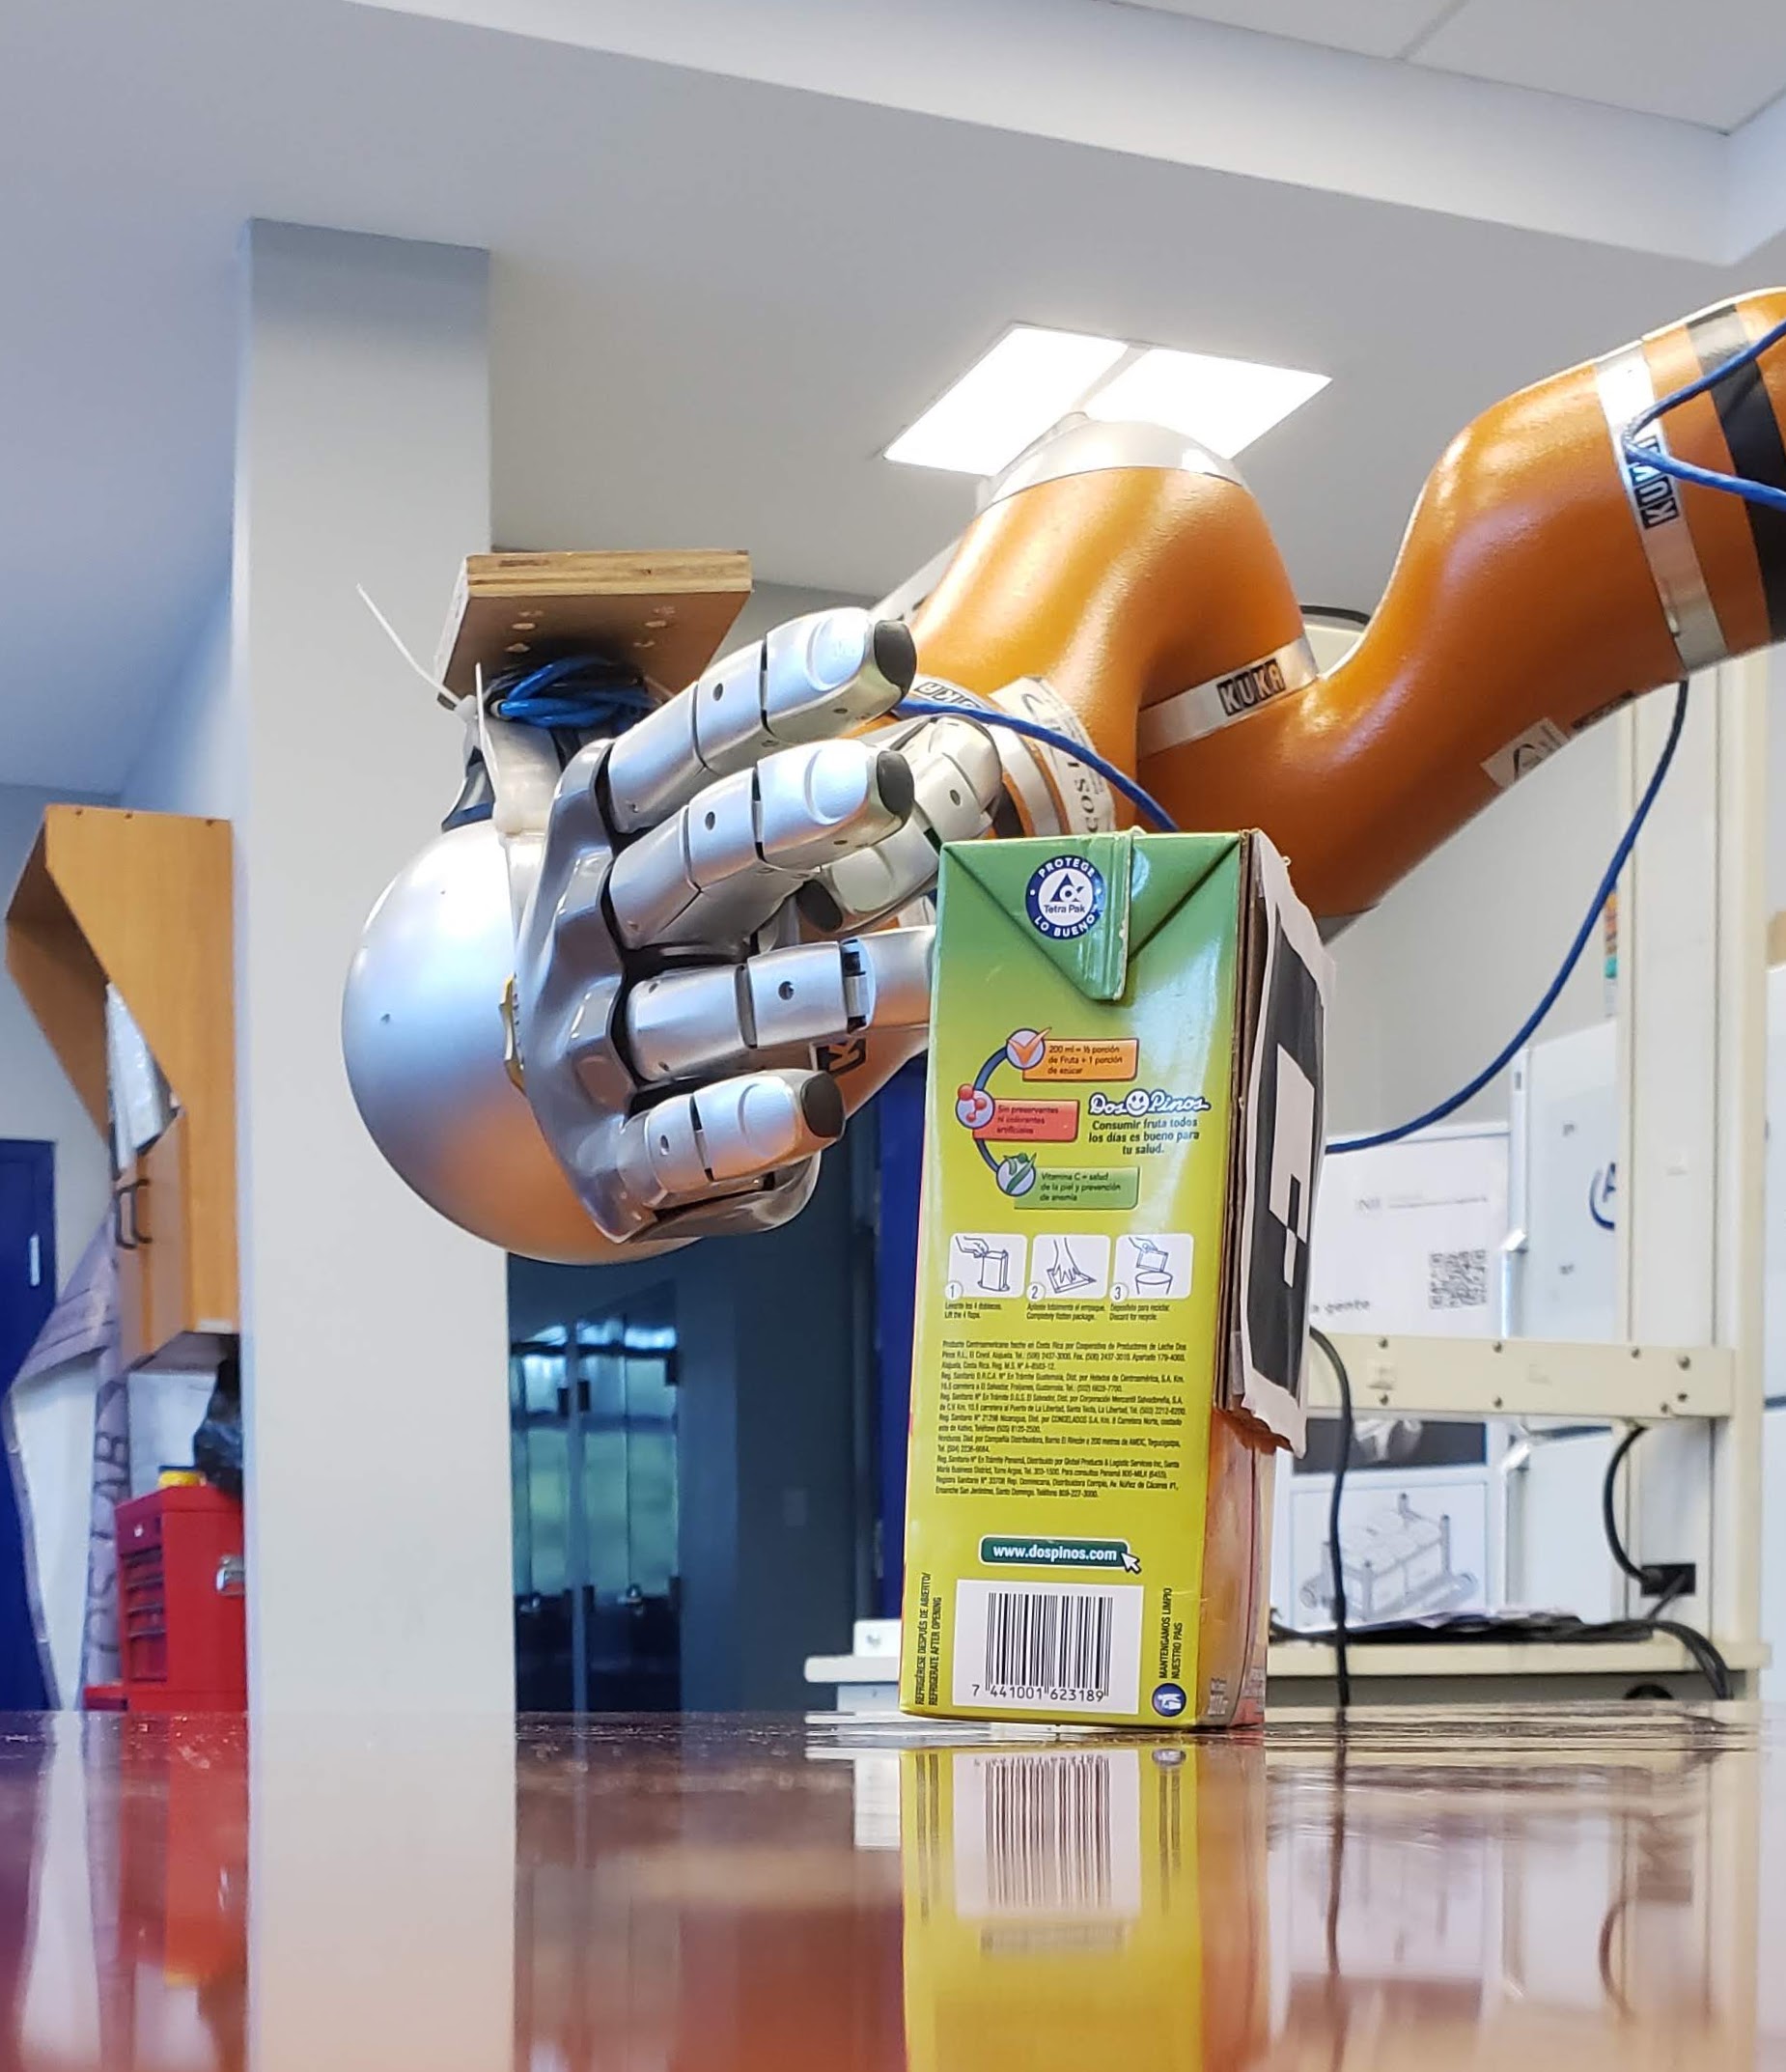
¶ Execute with Whole robot
Warning! this functionality is currently broken in master, because of some changes that were introduced for allowing interactive model parameters modifications. You will have to go to a previous commit for this to work.
It is also possible to execute OMS with the robot. Inside the OMS repository some instructions are provided to get a basic setup going. Here one can learn how to execute it with the entire robot. It is worth mentioning that OMS and the robot simulator are not 100% compatible (mainly because they use different Python versions) so a glue script was developed to have an interface between the two. This glue is not part of the official simulator, because when the simulator is ported to Python3 it will not be required. Similarly, the glue is not part of OMS because once it is ported to ROS2, it will not be required. So it was decided to include this glue into CMOC, the predecessor of OMS.
Now, start a YARP server.
Then the following commands have to be executed in the simulator environment (chroot, container, python virtual environment).
Execute the vfclick for the right arm in a separate terminal:
  cd ~/local/src
  vfclik -s -n /arcosbot-real -i lwr -i right -d robot_descriptions/arcosbot/kinematics/lwr/
In another terminal execute the hands simulator:
cd ~/local/src
sahand_yarp_sim -b /arcosbot-real -r -d -n -f robot_descriptions/arcosbot/kinematics/sahand  /hands_kin.py -s
Then execute pyrovito for visualization:
cd ~/local/src
pyrovito -n /arcosbot-real -r lwr --arm_right --hand_right -a robot_descriptions/arcosbot/kinematics/lwr/ -d robot_descriptions/arcosbot/kinematics/sahand/
Finally execute glue in a separate terminal.
  cd ~/local/src/cmoc/objects/sliding/scripts
  python glue.py
If you want to run with the finger calibration
  cd ~/local/src/cmoc/objects/sliding/sctipts
  python glue.py -c ~/local/src/robot_descriptions/arcosbot/kinematics/sahand/calibration_data/finger_calibration_data.py -n /arcosbot-real
If you want to ignore OMS commands and move the robot from the keyboard add the -g option. This will only ignore the commands that come from the robot interface, but it will still send the end effectors state back to OMS, so that the robot can still interact with the objects.
- → moves the robot to ''+x''
- ← moves the robot to ''-x''
- ↑ moves the robot to ''+y''
- ↓ moves the robot to ''-y''
- o moves the robot to ''+z''
- l moves the robot to ''-z''
- d rotates the robot around ''+z''
- a rotates the robot around ''-z''
- w rotates the robot around ''+x''
- s rotates the robot around ''-x''
The following commands are for OMS, so they should be executed in its environment (chroot, container, python virtual environment). There are currently only 3 objects added to OMS, a cylinder, a box and a door. This tutorial will show how to execute the cylinder, but the changes for using a box or a door should be obvious to you.
First execute the data_collector, this script will take the information from the oms_core, create the logs, and send the visualization data to pyrovito. In this particular case the scene with one cylinder is going to be executed, but the scene can be changed to simulate a box or a door, by changing the -s argument. For more advanced uses of this script use the -h argument to access the help text.
  cd ~/local/src/oms/oms/tests/test_utilities/
  python3 test_collector.py -s ~/.oms_data/default/test_scene_cylinder.json -d ~/.oms_data/default/monolith.json
Now a configuration file has to be created so that the oms_core uses it for the initialization process. One can use other objects by changing the scene_path. The following commands will assume that you downloaded this file, and placed it in ~/.oms_data/
{
    "entity_db_path": ".oms_data/default/monolith.json",
    "scene_path": ".oms_data/default/test_scene_cylinder.json",
    "ai_to_oms_port_name_local": "/oms/ai_to_oms",
    "oms_to_ai_port_name_local": "/oms/oms_to_ai",
    "ai_to_oms_port_name_remote": "/ai/ai_to_oms",
    "oms_to_ai_port_name_remote": "/ai/oms_to_ai",
    "ai_carrier": "tcp",
    "robot_carrier": "tcp",
    "vis_carrier": "tcp",
    "perceived_object": "clorox",
    "frequency": 60
}
If you executed glue without the -g option (which ignores OMS commands), you should now execute the planner with the following command:
  cd ~/local/src/oms/oms/tests/test_utilities/
  python3 test_pseudo_ai.py -i ~/.oms_data/default/test_instructions_cylinder.json
Finally, execute the oms_core using the previously provided configuration file:
oms_core.py -c .oms_data/conf_cylinder.json
¶ Extending OMS
Remember to read the articles and to build the documentation before making changes to OMS.
The entities can be found at: <oms-lib>/entities. So if you want to add another entity, that should be done there. All entities must inherit from Entity. As explained in the architecture article, there are three methods that you have to implement identity, model, controller. Follow the same structure as in Entity and Prism. To develop them you can read the documentation for each method. In addition to those three methods there is a 4th mehtod that you could need to implement (unlikely because Entity method is very general): configure which is the method used to apply the parameters to the entity.